Download and own part 1 to 18 of the SCCM 2012 R2 Installation Guide in a single PDF file. Use our products page or use the download button below. This blog post won’t be updated, only the document will be.
In part 1 of this SCCM 2012 R2 Installation Guide blog series, we planned our hierarchy, prepared our SCCM 2012 R2 Server and Active Directory.
In part 2, we installed and configured SQL in order to install SCCM 2012 R2.
In part 3, we installed a stand-alone SCCM 2012 R2 Primary site.
In the next 16 parts, we will describe how to install the numerous site systems roles available in SCCM 2012 R2. Role installation order is not important, you can install roles independently of others.
This part will describe how to install SCCM 2012 Application Catalog web service point and the Application Catalog website point.
Role Description
The Application Catalog web service point provides software information to the Application Catalog website from the Software Library.
The Application Catalog website point provides users with a list of available software.
This is not a mandatory site system but you need both the Application Catalog website point and the Application Catalog web service point if you want to provide your user with a Self-Service application catalog (web portal).

Site System Role Placement in Hierarchy
The Application Catalog web service point and the Application Catalog website point are hierarchy-wide options. It’s supported to install those roles on a stand-alone Primary site or child Primary site. It’s not supported to install it on a Central Administration site or Seconday site. The Application Catalog web service point must reside in the same forest as the site database.
If you’re having less than 10,000 users in your company, co-locating the Application Catalog web service and Application Catalog website roles on the same server should be ok. The web service role connects directly to the SCCM SQL database so ensure that the network connectivity between the SQL server and the Application Catalog web service servers is robust.
If you have more geographically distributed users, consider deploying additional application catalogs to keep responsiveness high and user satisfaction up. Use client settings to configure collections of computers to use different Application Catalog servers.
Read more on how to provide a great application catalog experience to your user in this Technet blog article.
If your client needs HTTPS connections, you must first deploy a web server certificate to the site system. If you need to allow Internet clients to access the application catalog, you also need to deploy a web server certificate to the Management Point configured to support Internet clients. When supporting Internet clients, Microsoft recommends that you install the Application Catalog website point in a perimeter network, and the Application Catalog web service point on the intranet. For more information about certificates see the following Technet article.
Prerequisites
Using Windows Server 2012, the following features must be installed before the role installation:
Application Catalog web service point
Features:
- .NET Framework 3.5 SP1 and 4.0
WCF activation:
- HTTP Activation
- Non-HTTP Activation
IIS Configuration:
- ASP.NET (and automatically selected options)
- IIS 6 Management Compatibility
- IIS 6 Metabase Compatibility
Application Catalog website point
Features:
- .NET Framework 4.0
IIS Configuration:
- Common HTTP Features
- Static Content
- Default Document
- Application Development
- ASP.NET (and automatically selected options)
- Security
- Windows Authentication
- IIS 6 Management Compatibility
- IIS 6 Metabase Compatibility
SCCM 2012 Application Catalog Installation
For this post we will be installing both role on our stand-alone Primary site using HTTP connections. If you split the roles between different machine, do the installation section twice, once for the first site system (selecting Application Catalog web service point during role selection) and a second time on the other site system (selecting Application Catalog website point during role selection).
- Open the SCCM console
- Navigate to Administration / Site Configuration / Servers and Site System Roles
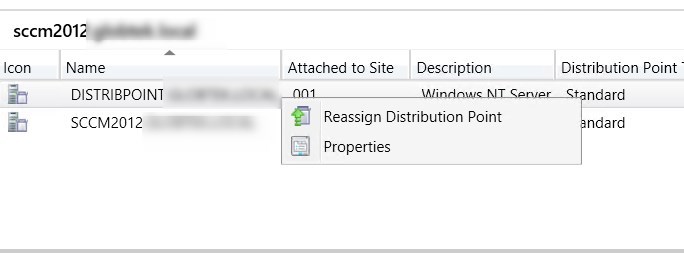
- Right click your Site System and click Add Site System Roles
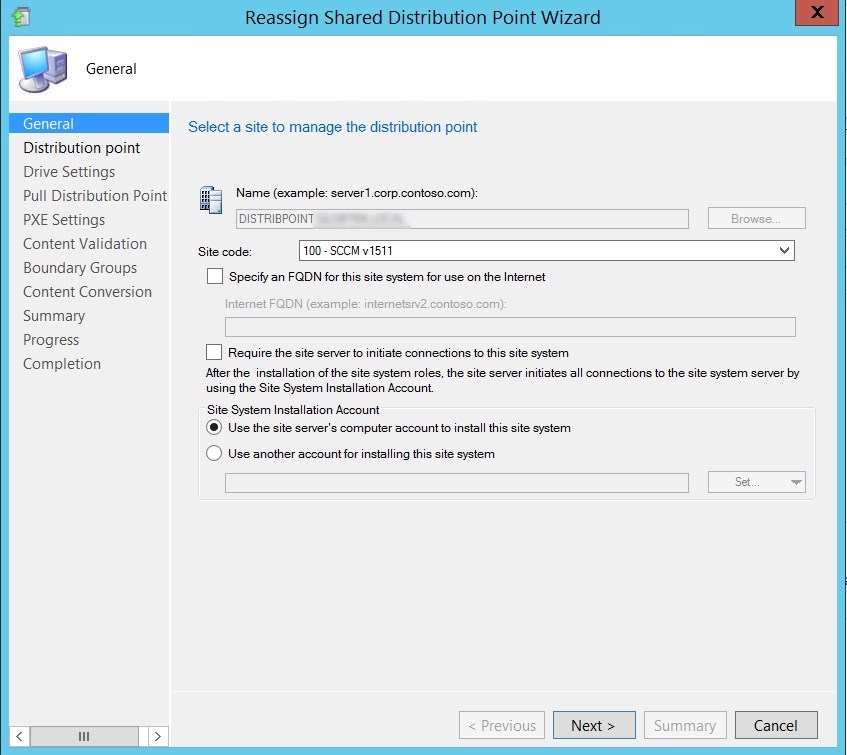
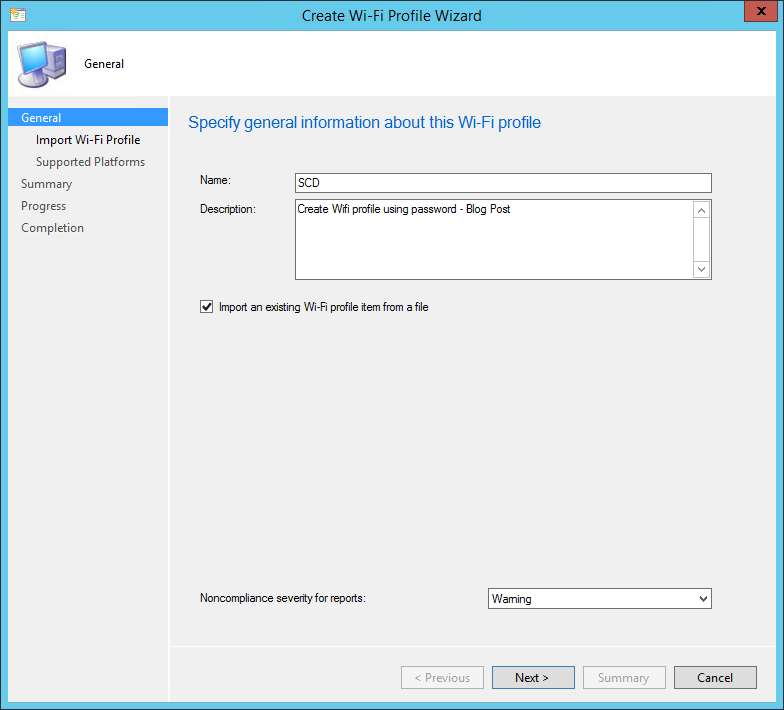
- On the General tab, click Next

- On the Proxy tab, click Next

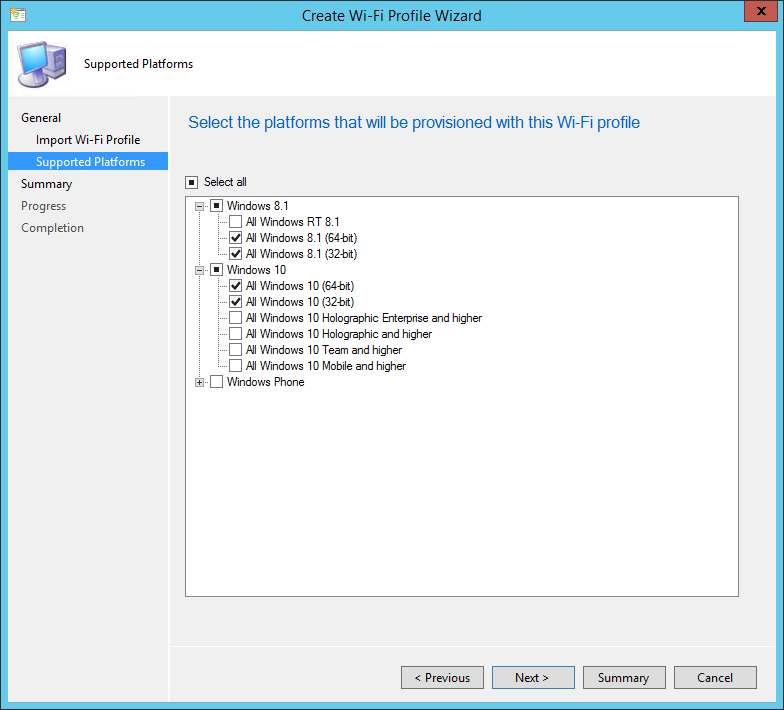
- On the Site System Role tab, select Application Catalog web service point and Application Catalog website point, click Next

- On the Application Catalog Web Service Point
- In the IIS Website and Web application name fields, leave both to the default values
- This is just the name that you’ll see in IIS after the installation (see next screenshot). It has nothing to do with your user facing portal
- Enter the port and protocol that you want to use


- On the Application Catalog WebSite Point
- In the IIS Website keep the default value
- In Web application name, enter the name that you want for your Application Catalog. This is the URL that will be published to your users
- Enter the port and protocol that you want to use

- On the Application Catalog Customizations tab, enter your organisation name and the desired color for your website

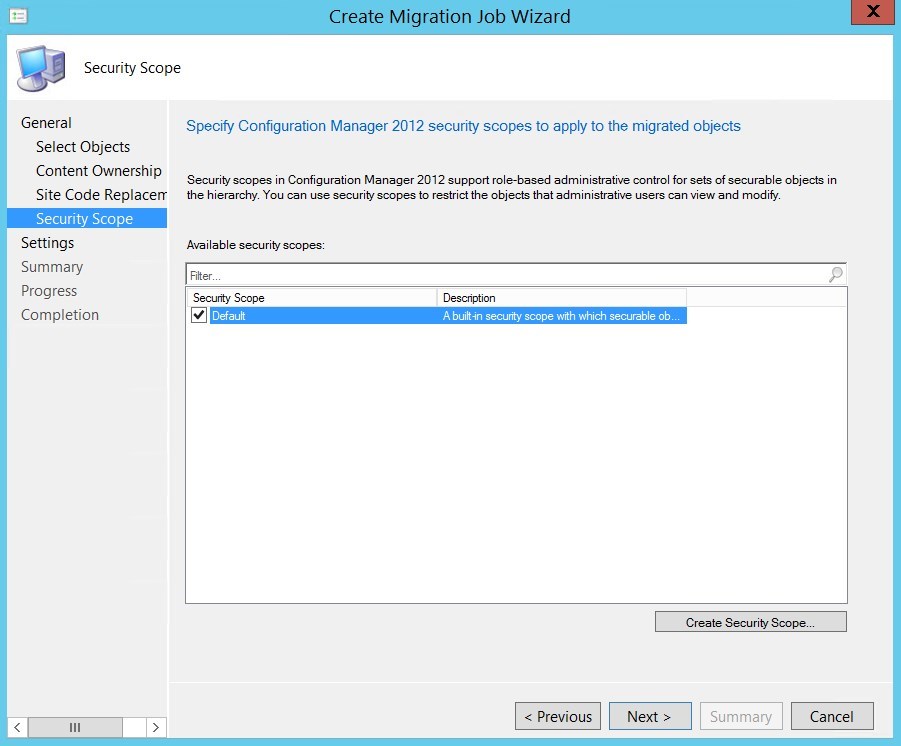
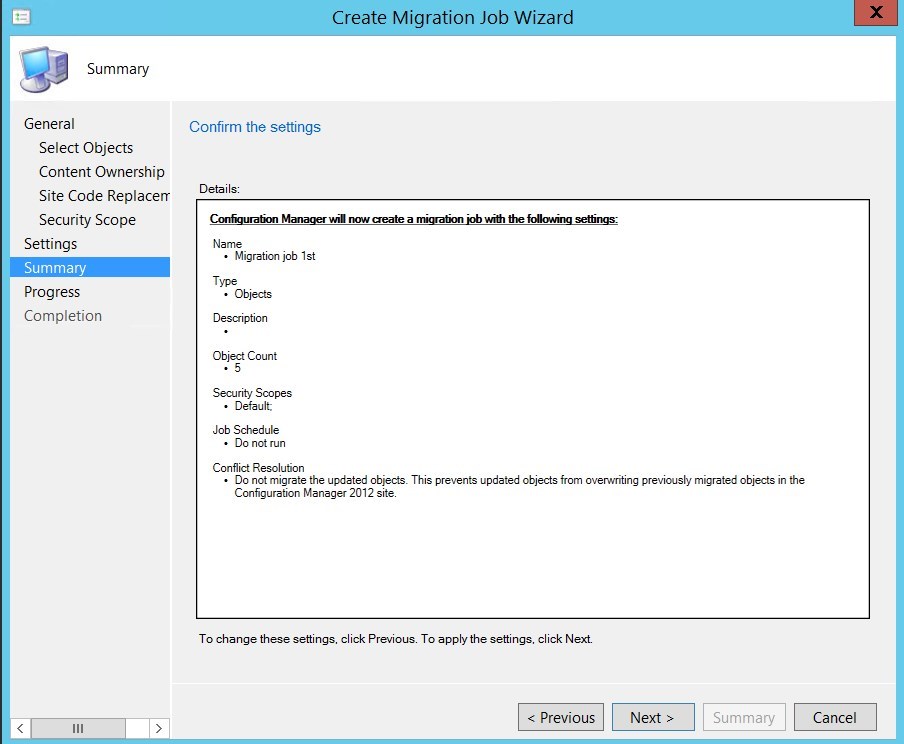
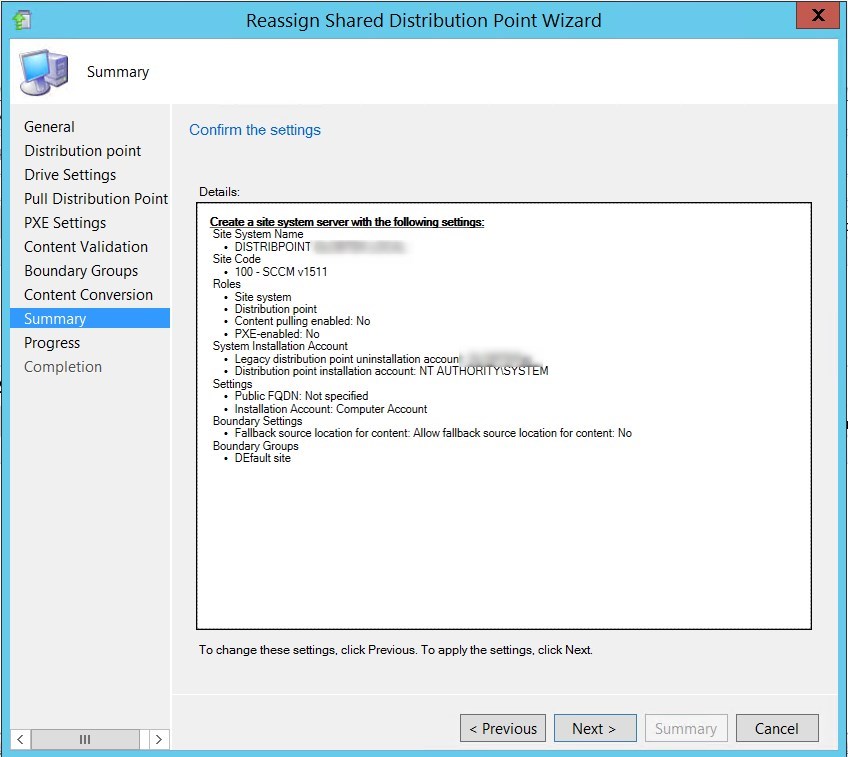
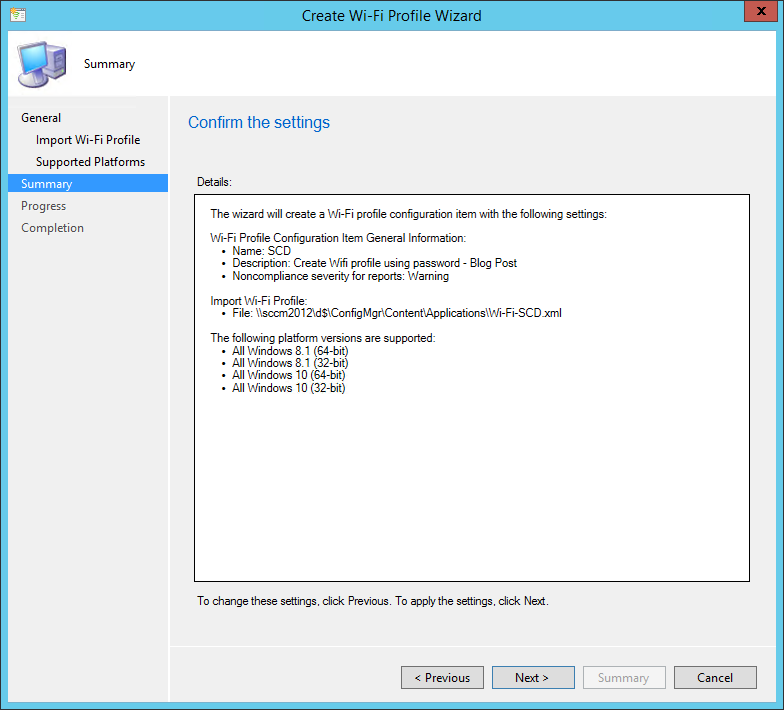
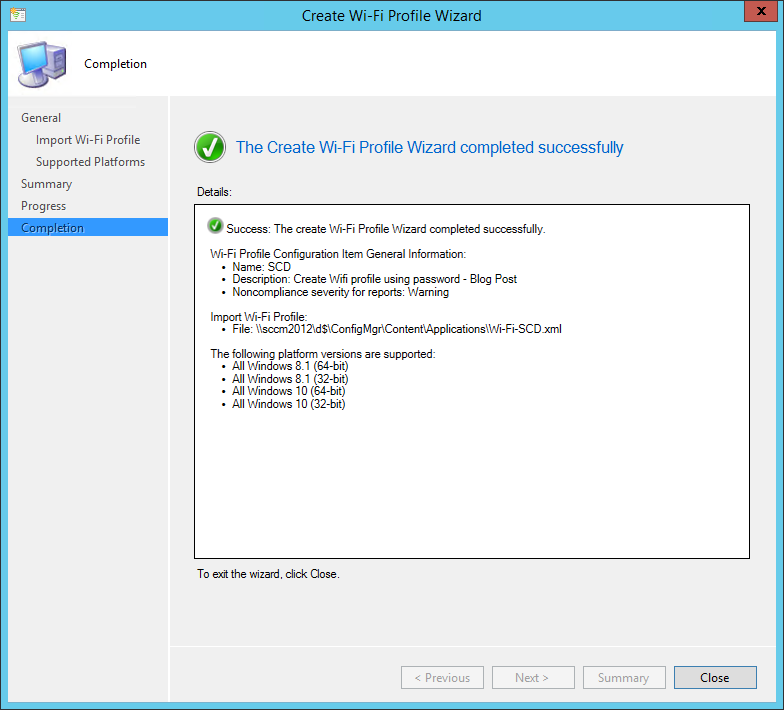
- On the Summary tab, review your settings, click Next and complete the wizard

Verification and Logs files
Logs
You can verify the role installation in the following logs:
- ConfigMgrInstallationPath\Logs\SMSAWEBSVCSetup.log and awebsvcMSI.log – Records details of about the Application Catalog Web Service Point installation
- ConfigMgrInstallationPath\Logs\SMSPORTALWEBSetup.log and portlwebMSI.log – Records details of about the Application Catalog Website Point installation
Status messages
- Open the SCCM Console
- Go to Monitoring / System Status / Component Status
- See status of the components SMS_PORTALWEB_CONTROL_MANAGER and SMS_AWEBSVC_CONTROL_MANAGER

Internet Explorer
Verify that the Application Catalog is accessible :
- Open Internet Explorer
- Browse to http://YourServerName/CMApplicationCatalog
- Replace YourServerName with the server name on which you installed the Application Catalog Website Point
- Replace CMApplicationCatalog with the name that you give your Application Catalog. (Default is CMApplicationCatalog)
If everything is setup correctly, you’ll see a web page like this :
URL Redirection
The default URL to access the Application Catalog is not really intuitive for your users.
It’s possible to create a DNS entry to redirect it to something easier (ex: http://ApplicationCatalog)
Client Settings
Ensure that the client settings for your clients are set correctly to access the Application Catalog
- Open the SCCM Console
- Go to Administration / Client Settings
- Right-click your client settings and select Properties
- On the left pane, select Computer Agent
- Click the Set Website button and select your Application Catalog (the name will be automatically populated if your Application Catalog is installed)
- Select Yes on both Add Default Application Catalog website to Internet Explorer trusted site zone and Allow Silverlight application to run in elevated trust mode
- Enter your organisation name in Organisation name displayed in Software Center

That’s it, you’ve installed your SCCM 2012 Application Catalog, publish the link to your user and start publishing your applications.
The post How to install SCCM 2012 Application Catalog appeared first on System Center Dudes.